> For the complete documentation index, see [llms.txt](https://docs.1send.net/llms.txt). Markdown versions of documentation pages are available by appending `.md` to page URLs; this page is available as [Markdown](https://docs.1send.net/for-agencies/authorize-1send.md).
# Authorize 1send
After the client has successfully granted access to the agency the next step is to authorize 1send to send messages on behalf of the Facebook page
### New 1send account
1. Go on [app.1send.net](http://app.1send.net/)
2. Register a new 1send account
3. Connect intended Facebook page to 1send. Facebook pages can be disconnected at any time
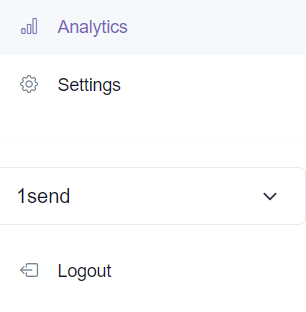
4. In the bottom left dropdown, your Facebook page should be listed as an option
### Adding new client to existing 1send account
1. Go on [app.1send.net](http://app.1send.net/)
2. Log into existing 1send account
3. Go into "Settings" page and click "Manage Pages"
4. Click "Continue as..."
5. Log out and then log back in. The new client's page should be in the pages dropdown
{% hint style="info" %}
After clicking "Manage Pages" some users will have an option to "Edit Settings". You can click to see pages that your user account has access to
{% endhint %}